Set up PNetwork on Windows, macOS & Linux with Clash Verge Rev
August 19, 2026
Clash Verge Rev is our recommended desktop client: free and open-source, cross-platform, actively maintained, and fully compatible with PNetwork out of the box. Total setup time is about two minutes.
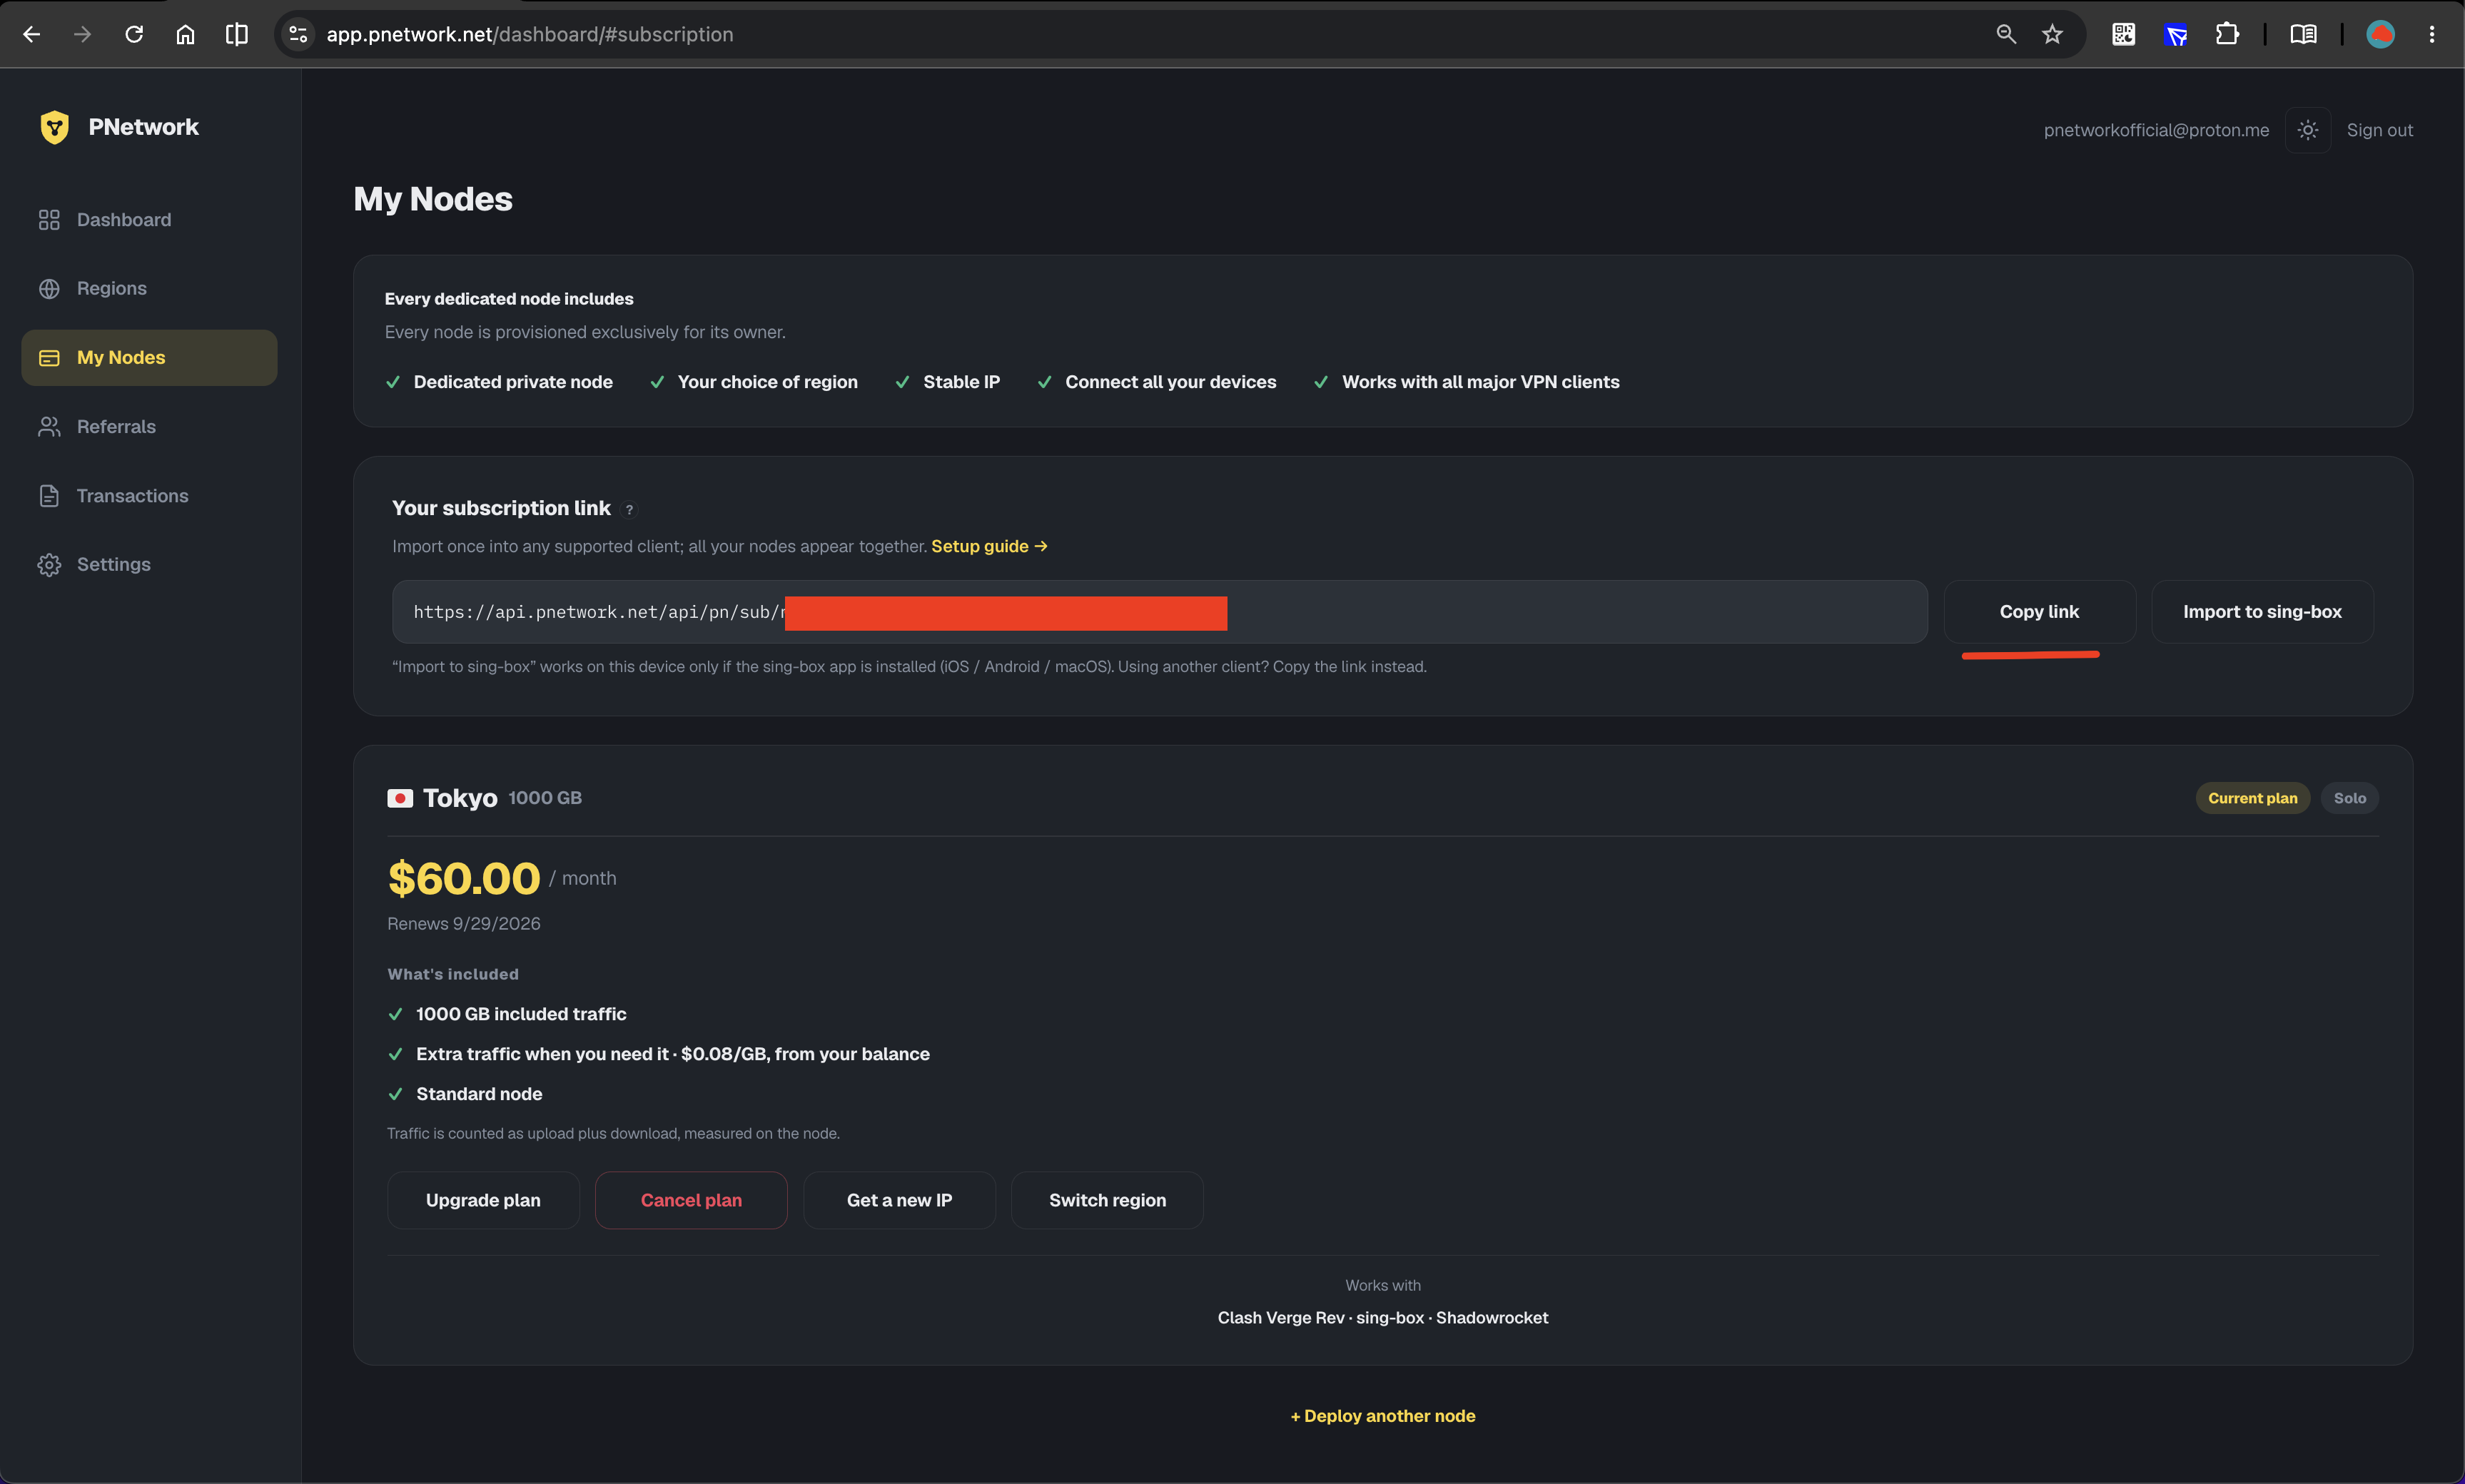
1Copy your subscription link
Open Dashboard → My Nodes and click Copy linkon the “Your subscription link” card. One link covers every node you own and keeps itself up to date — including after an IP change. Treat it like a password: anyone who has it can use your node.
2Install Clash Verge Rev
Download the installer for your OS from the official GitHub releases page and install it like any other app. This guide was made with version 2.5.2 — any recent release works.
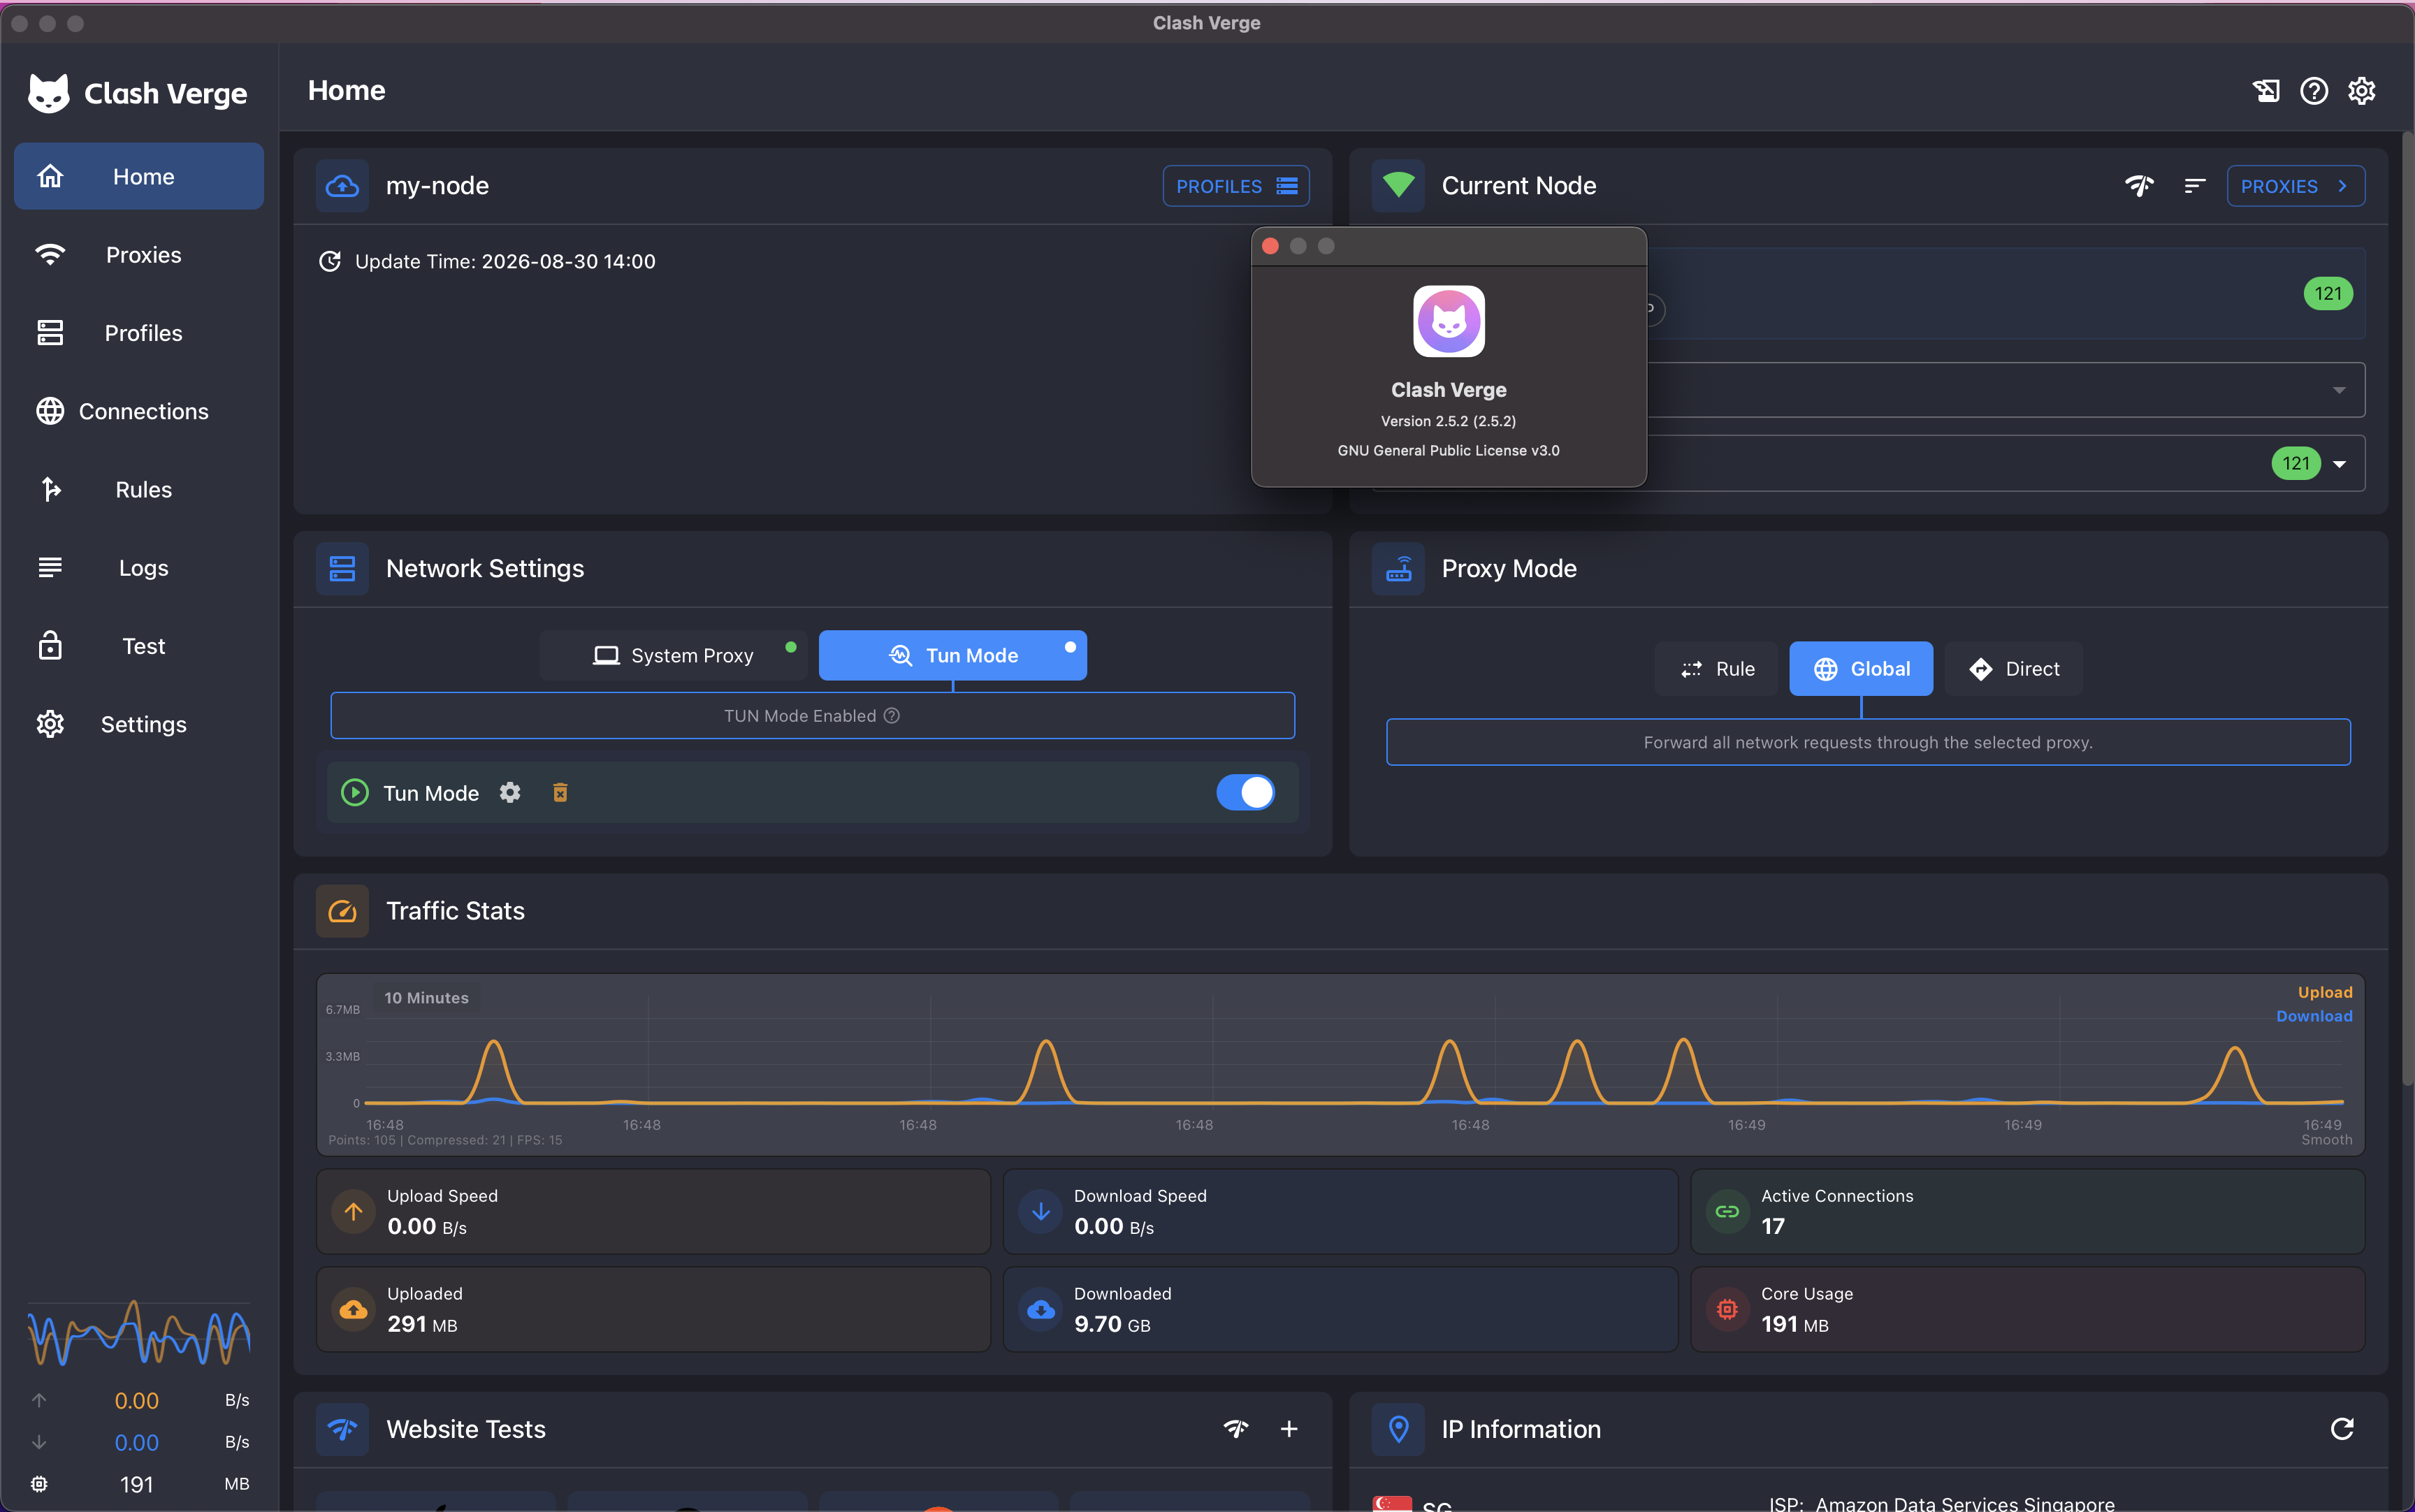
On first launch you land on the Home screen — nothing is connected yet.
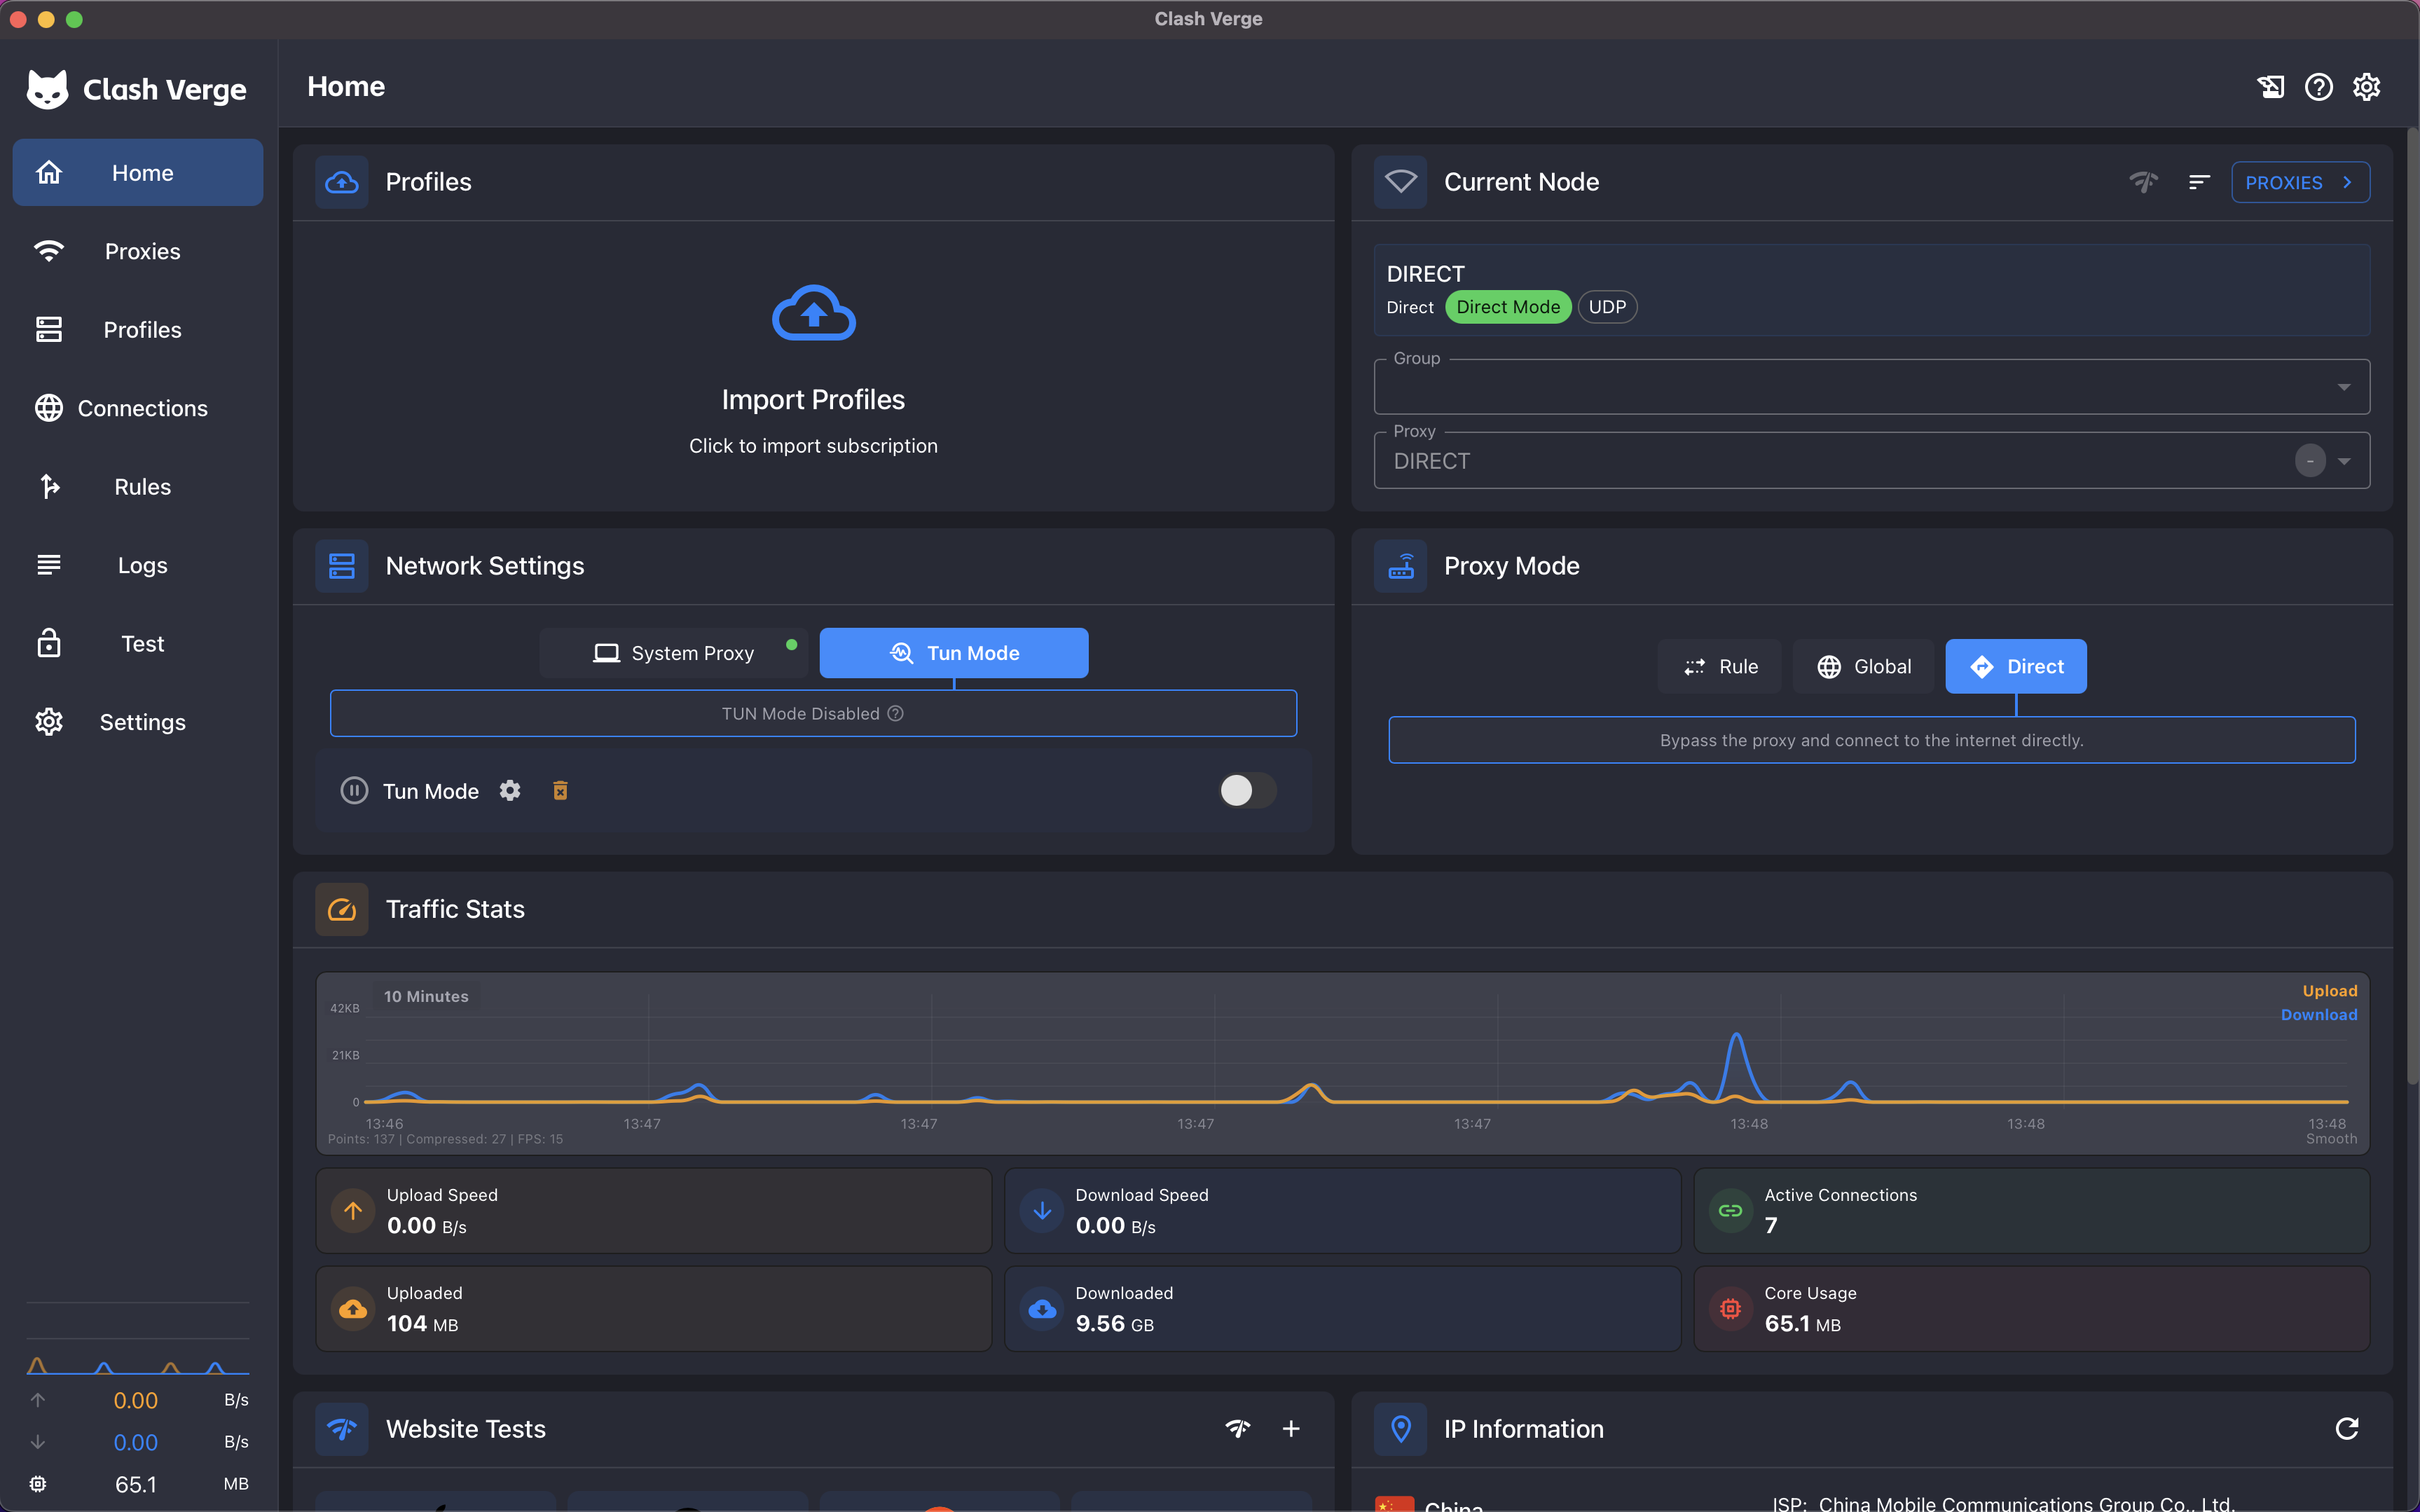
3Import the profile
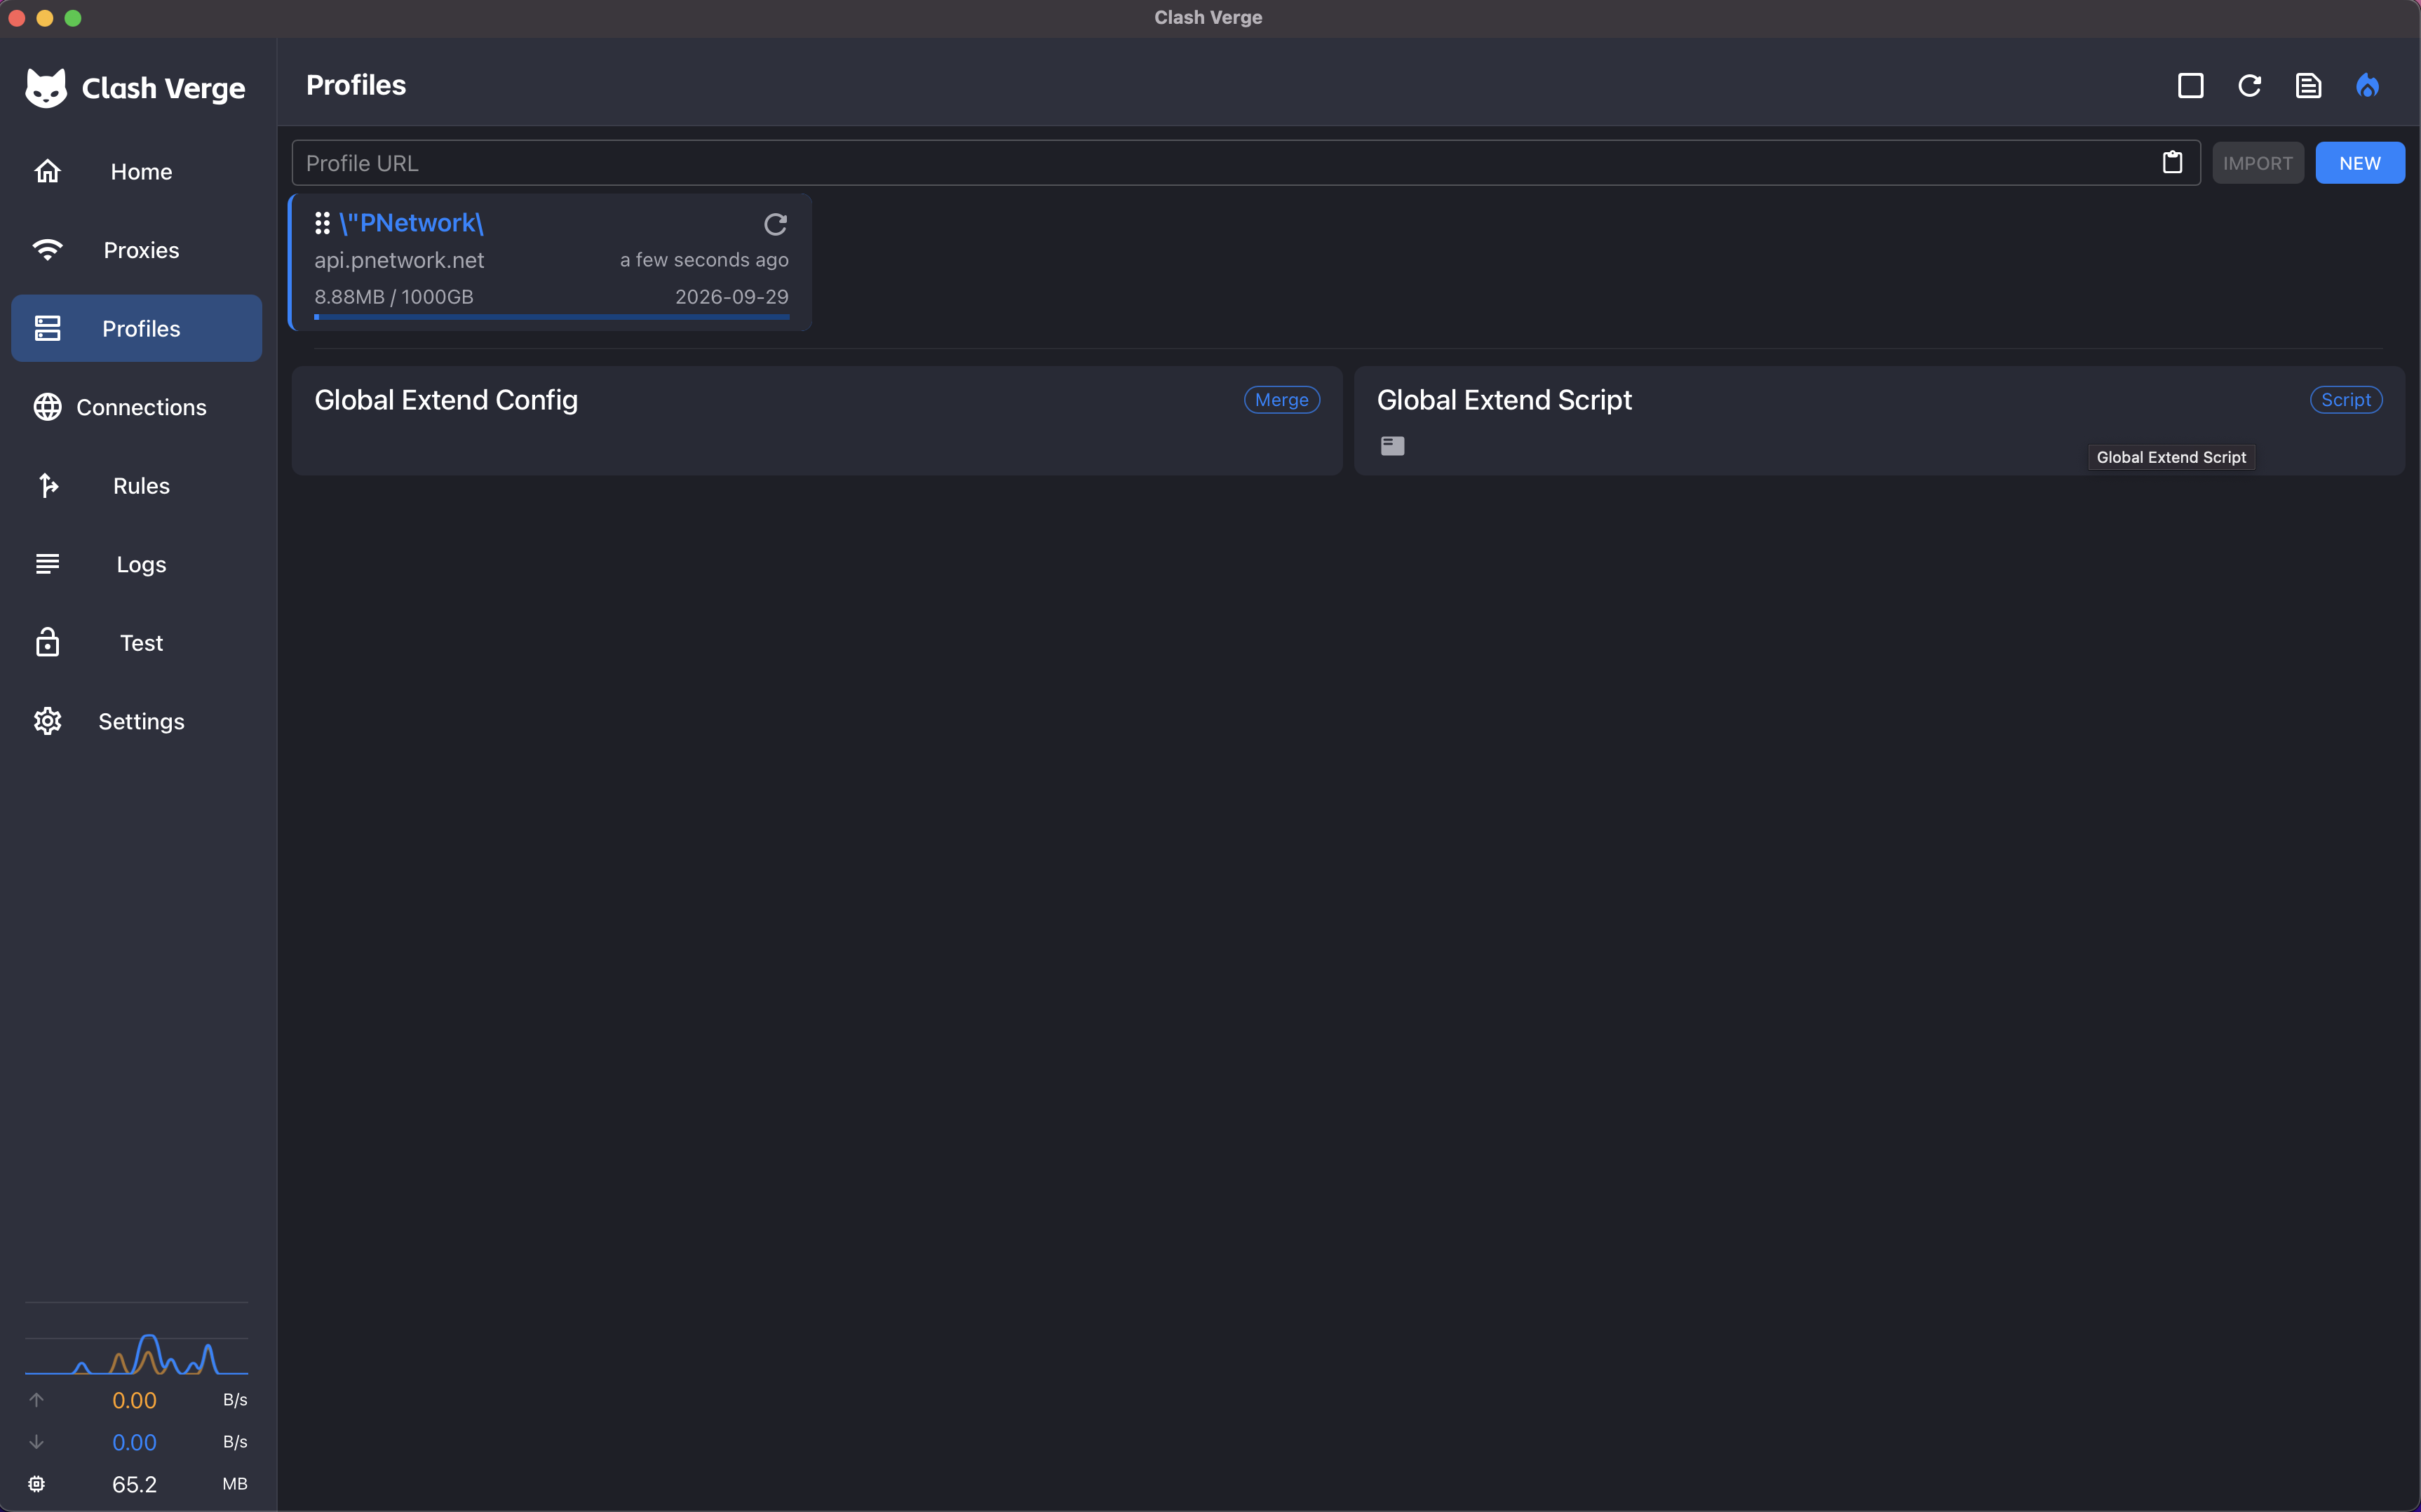
Open the Profiles tab, paste your subscription link into the URL box at the top, and click Import.
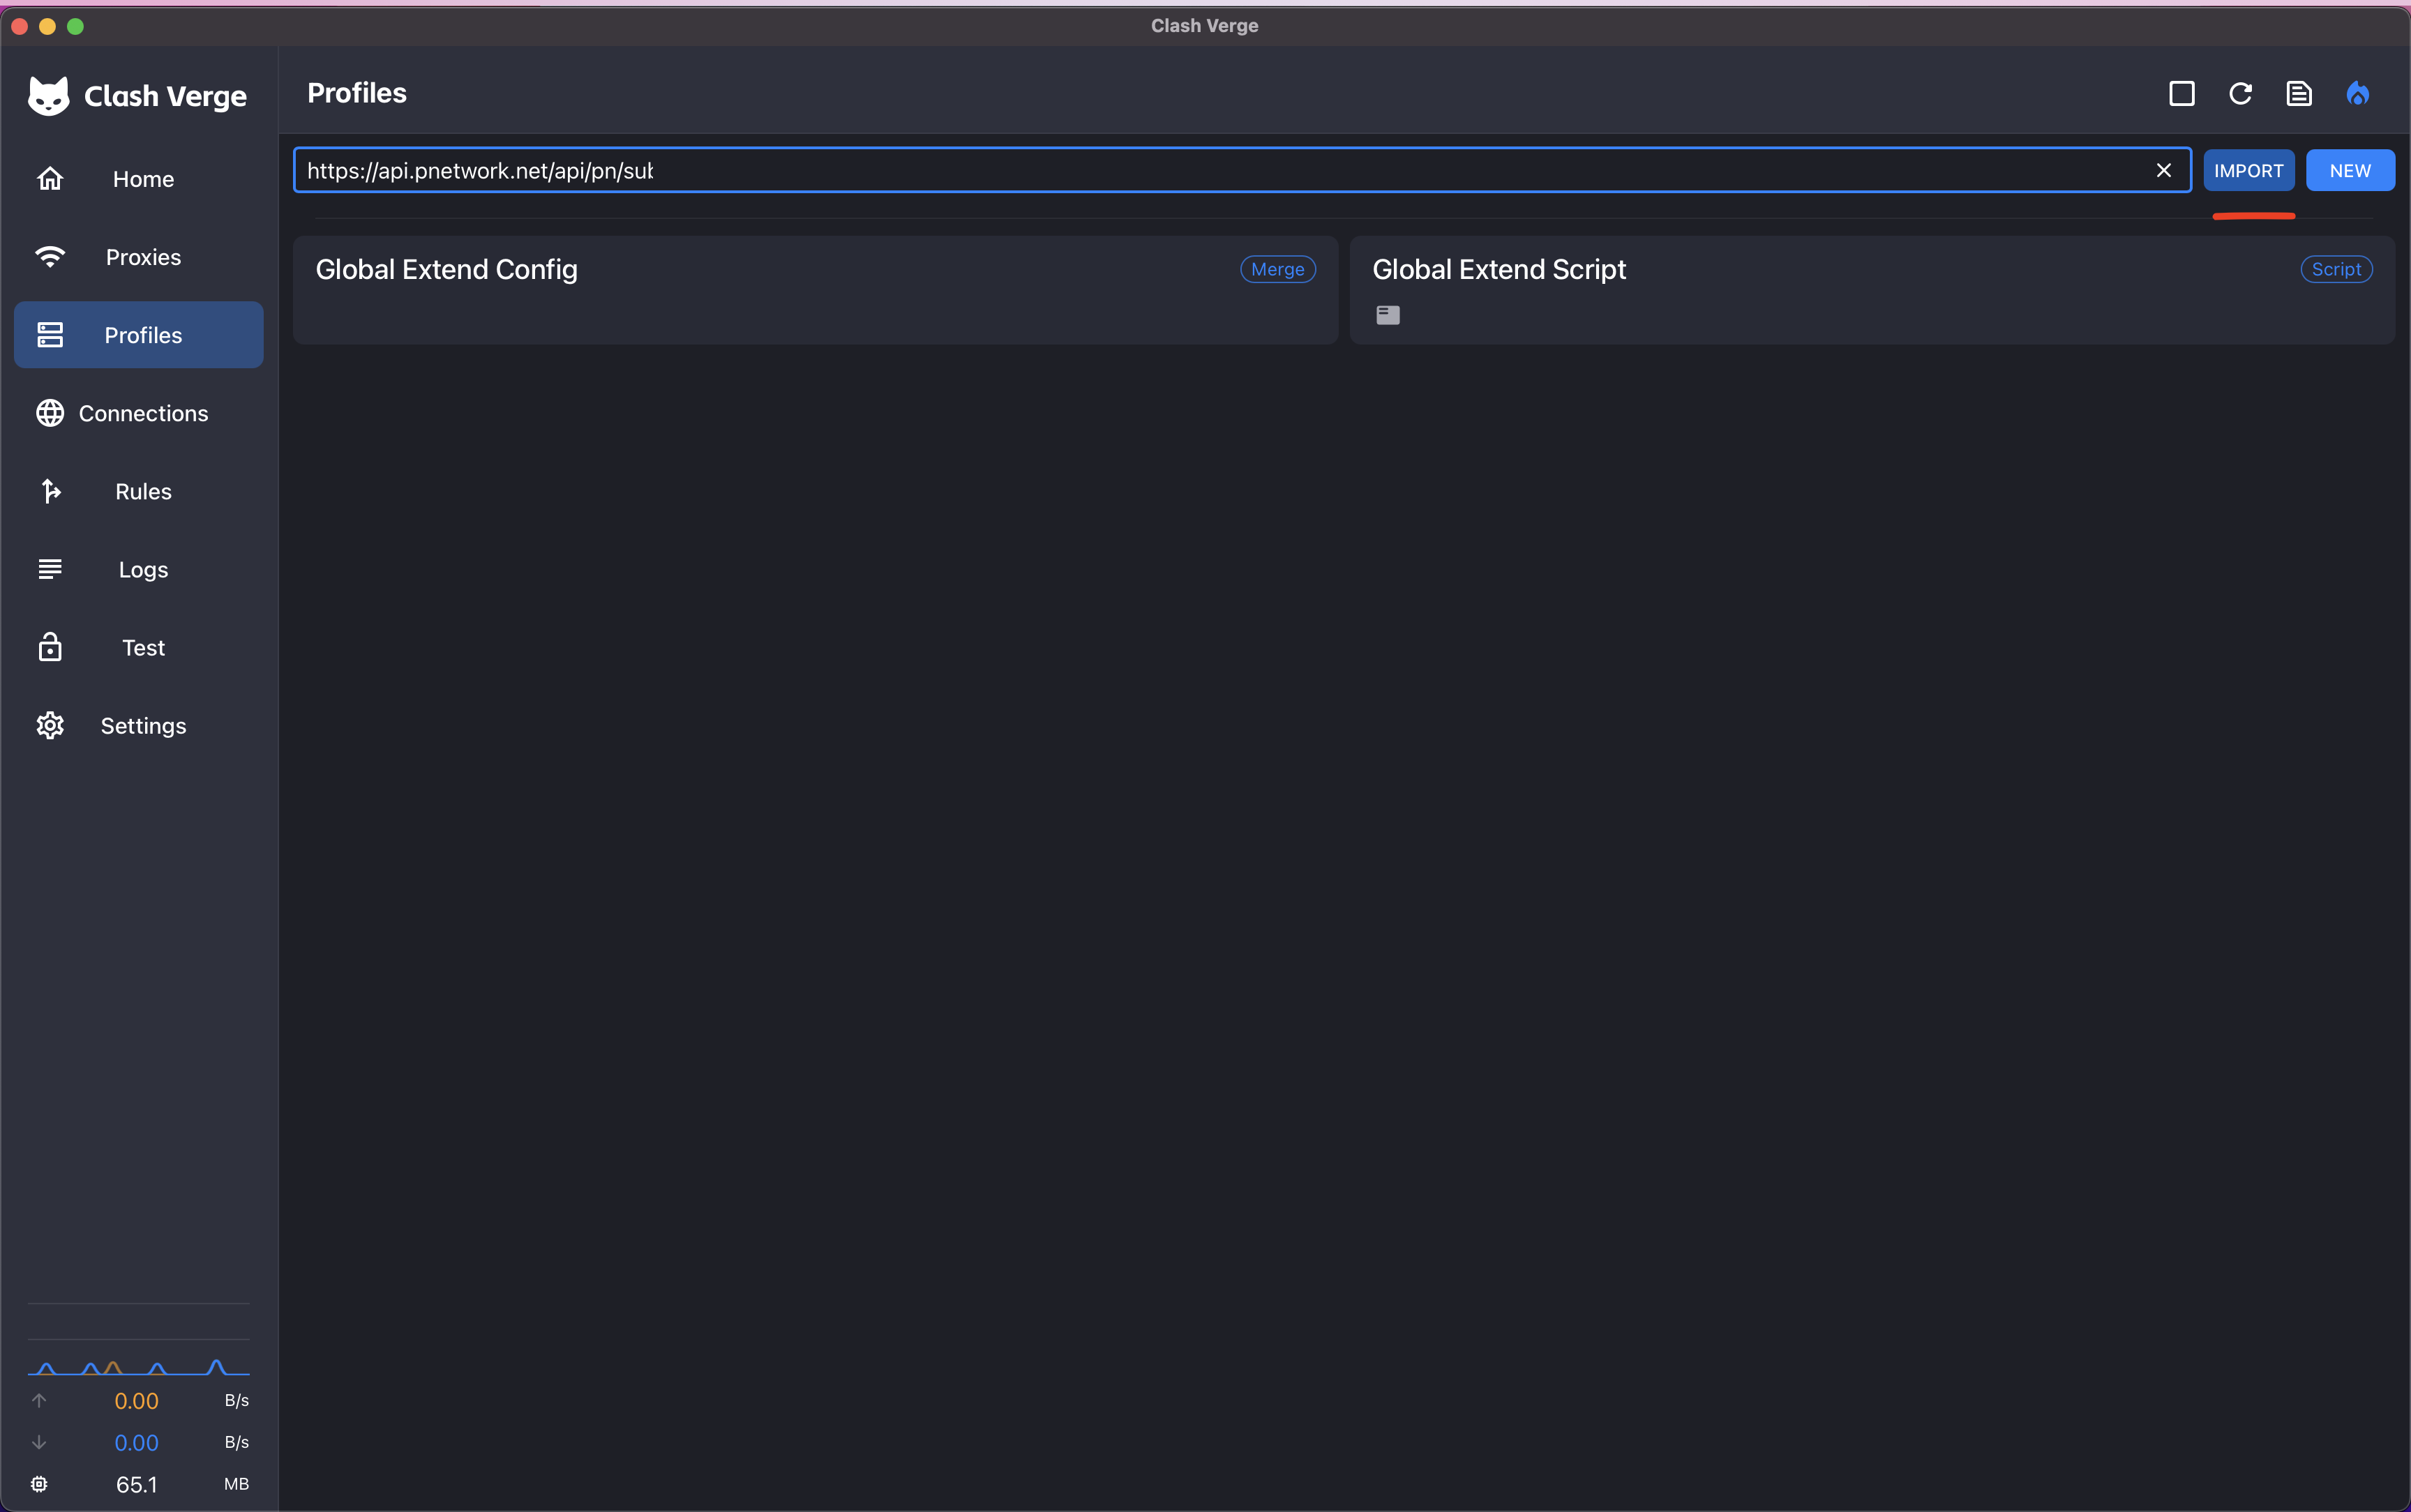
A “PNetwork” profile card appears, already showing your traffic usage and renewal date — click it once so it becomes the active profile.
4Turn the proxy on
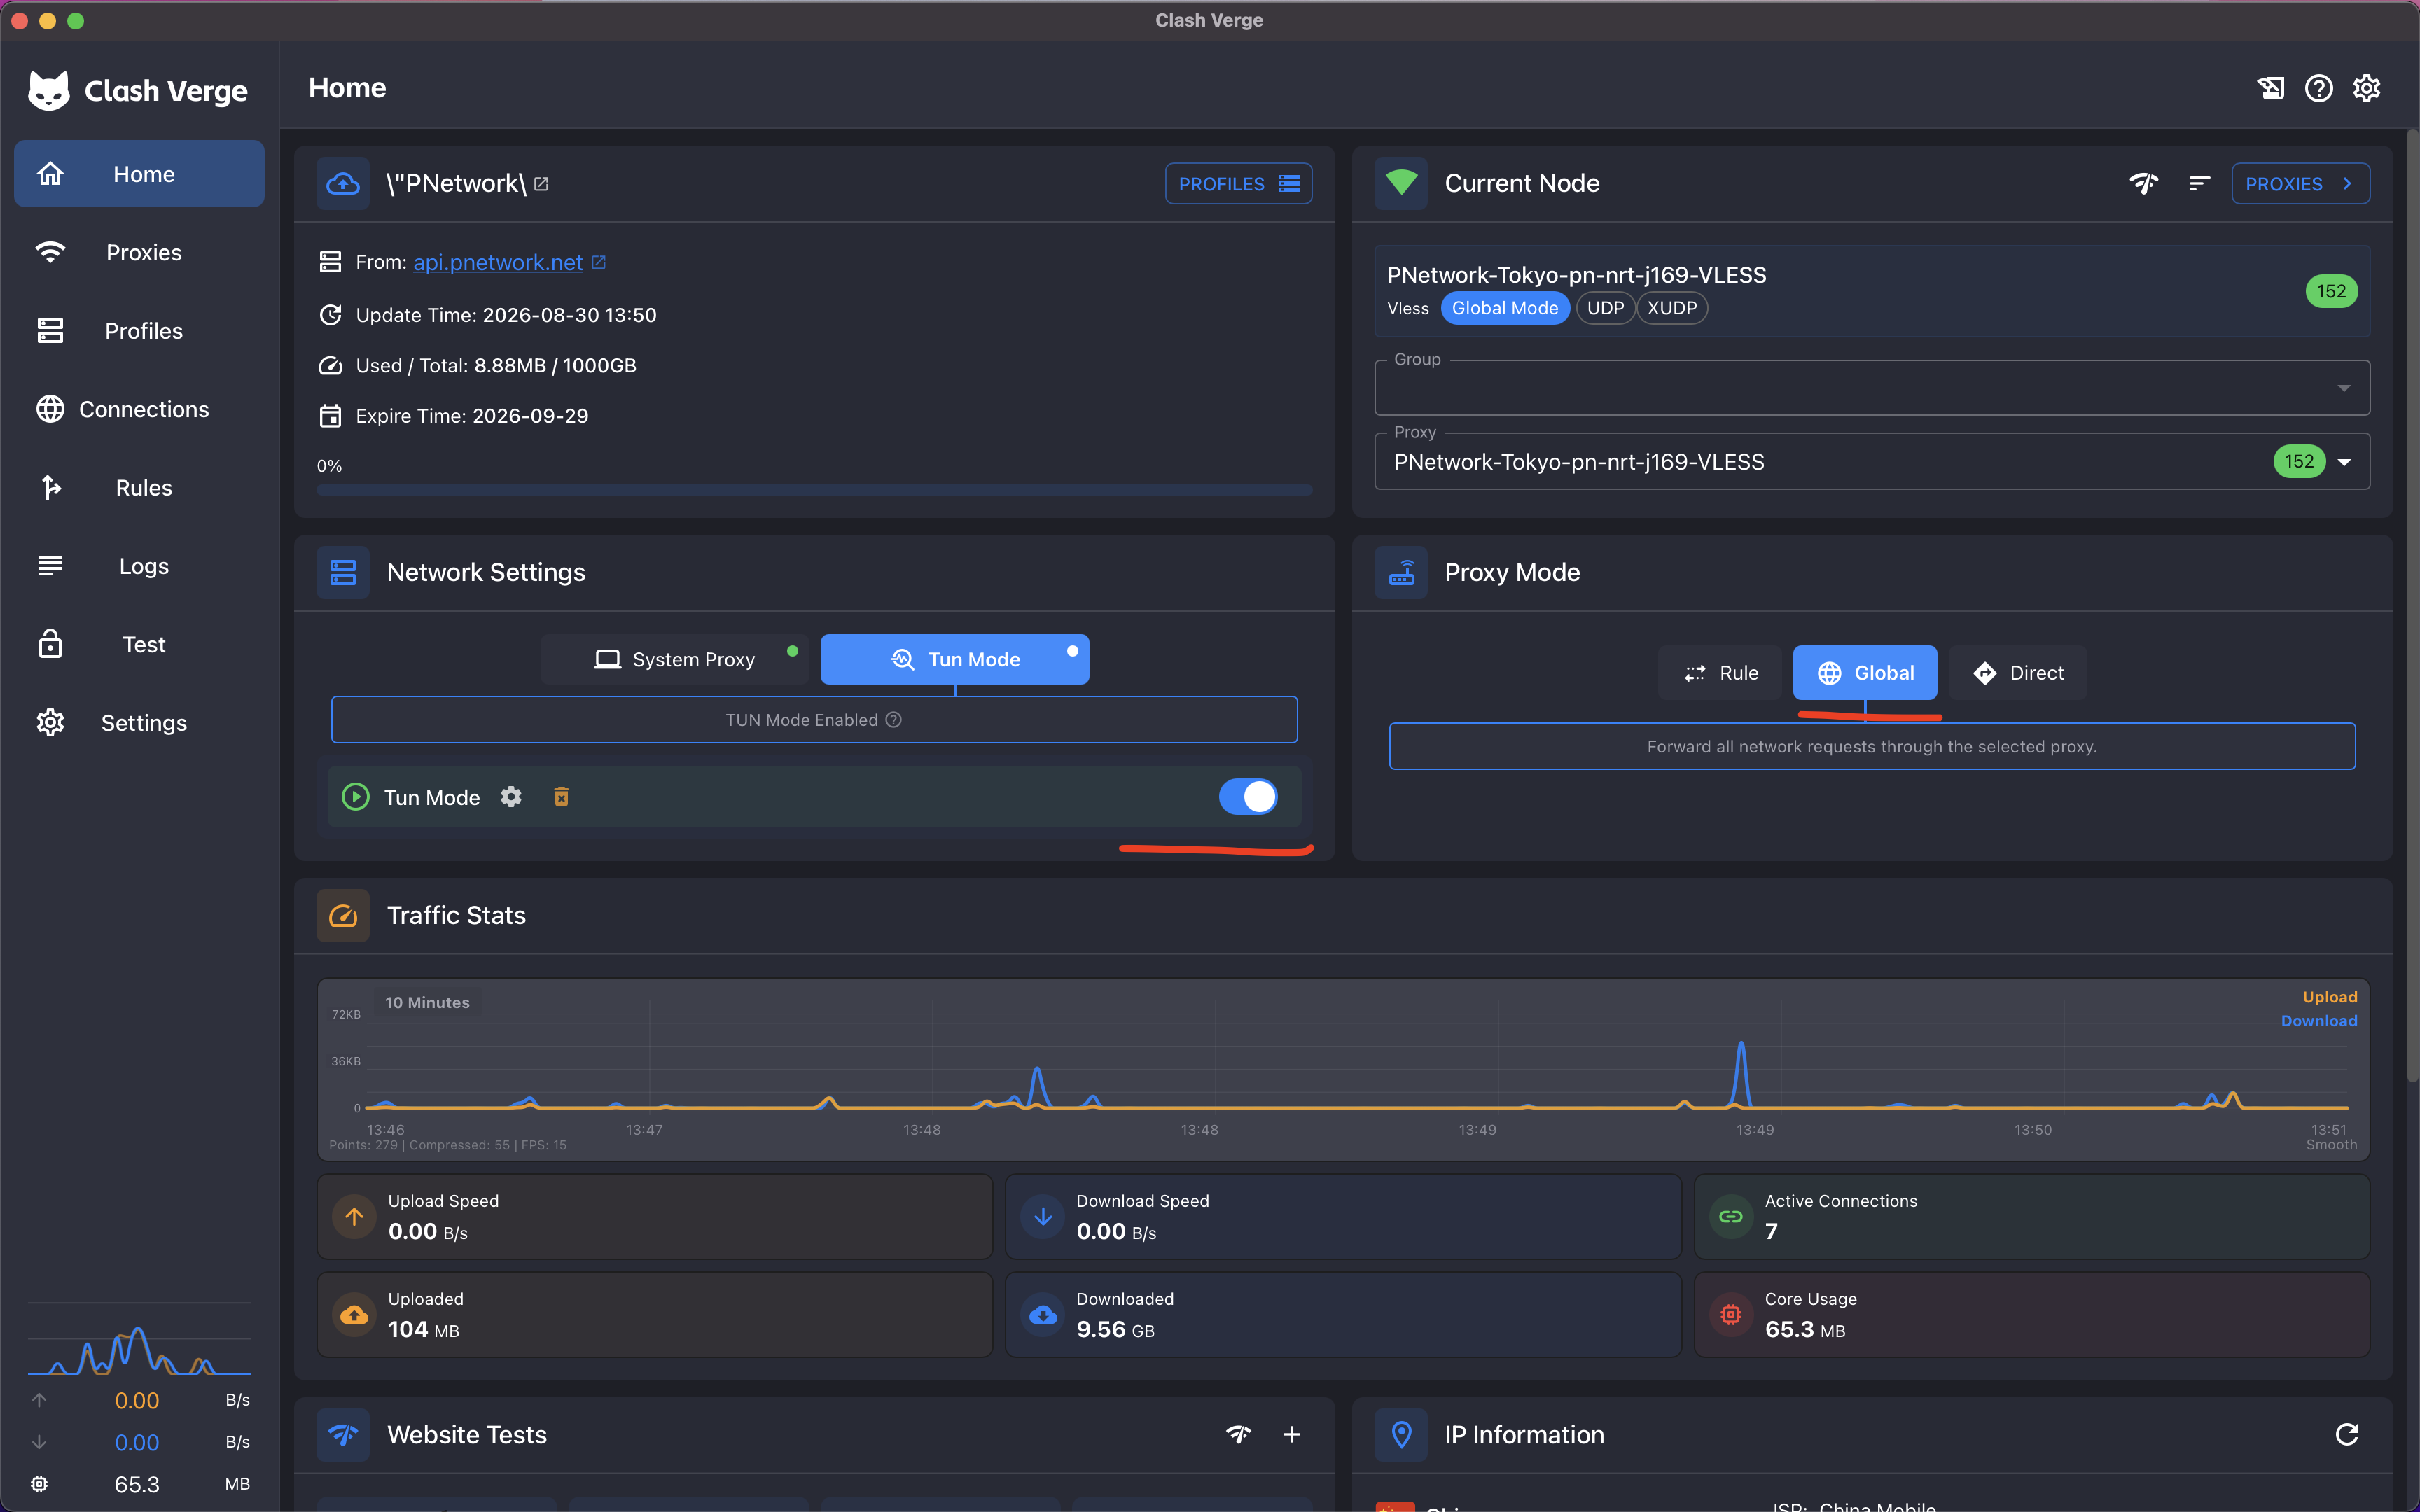
Back on Home: under Network Settings enable System Proxy (most apps follow it immediately) — or Tun Mode if some app ignores the system proxy; it routes all traffic at the network level and may ask to install a service the first time. Then set Proxy Mode to Global to send everything through your node (Rule mode also works — the profile ships with sensible routing rules).
5Pick your node
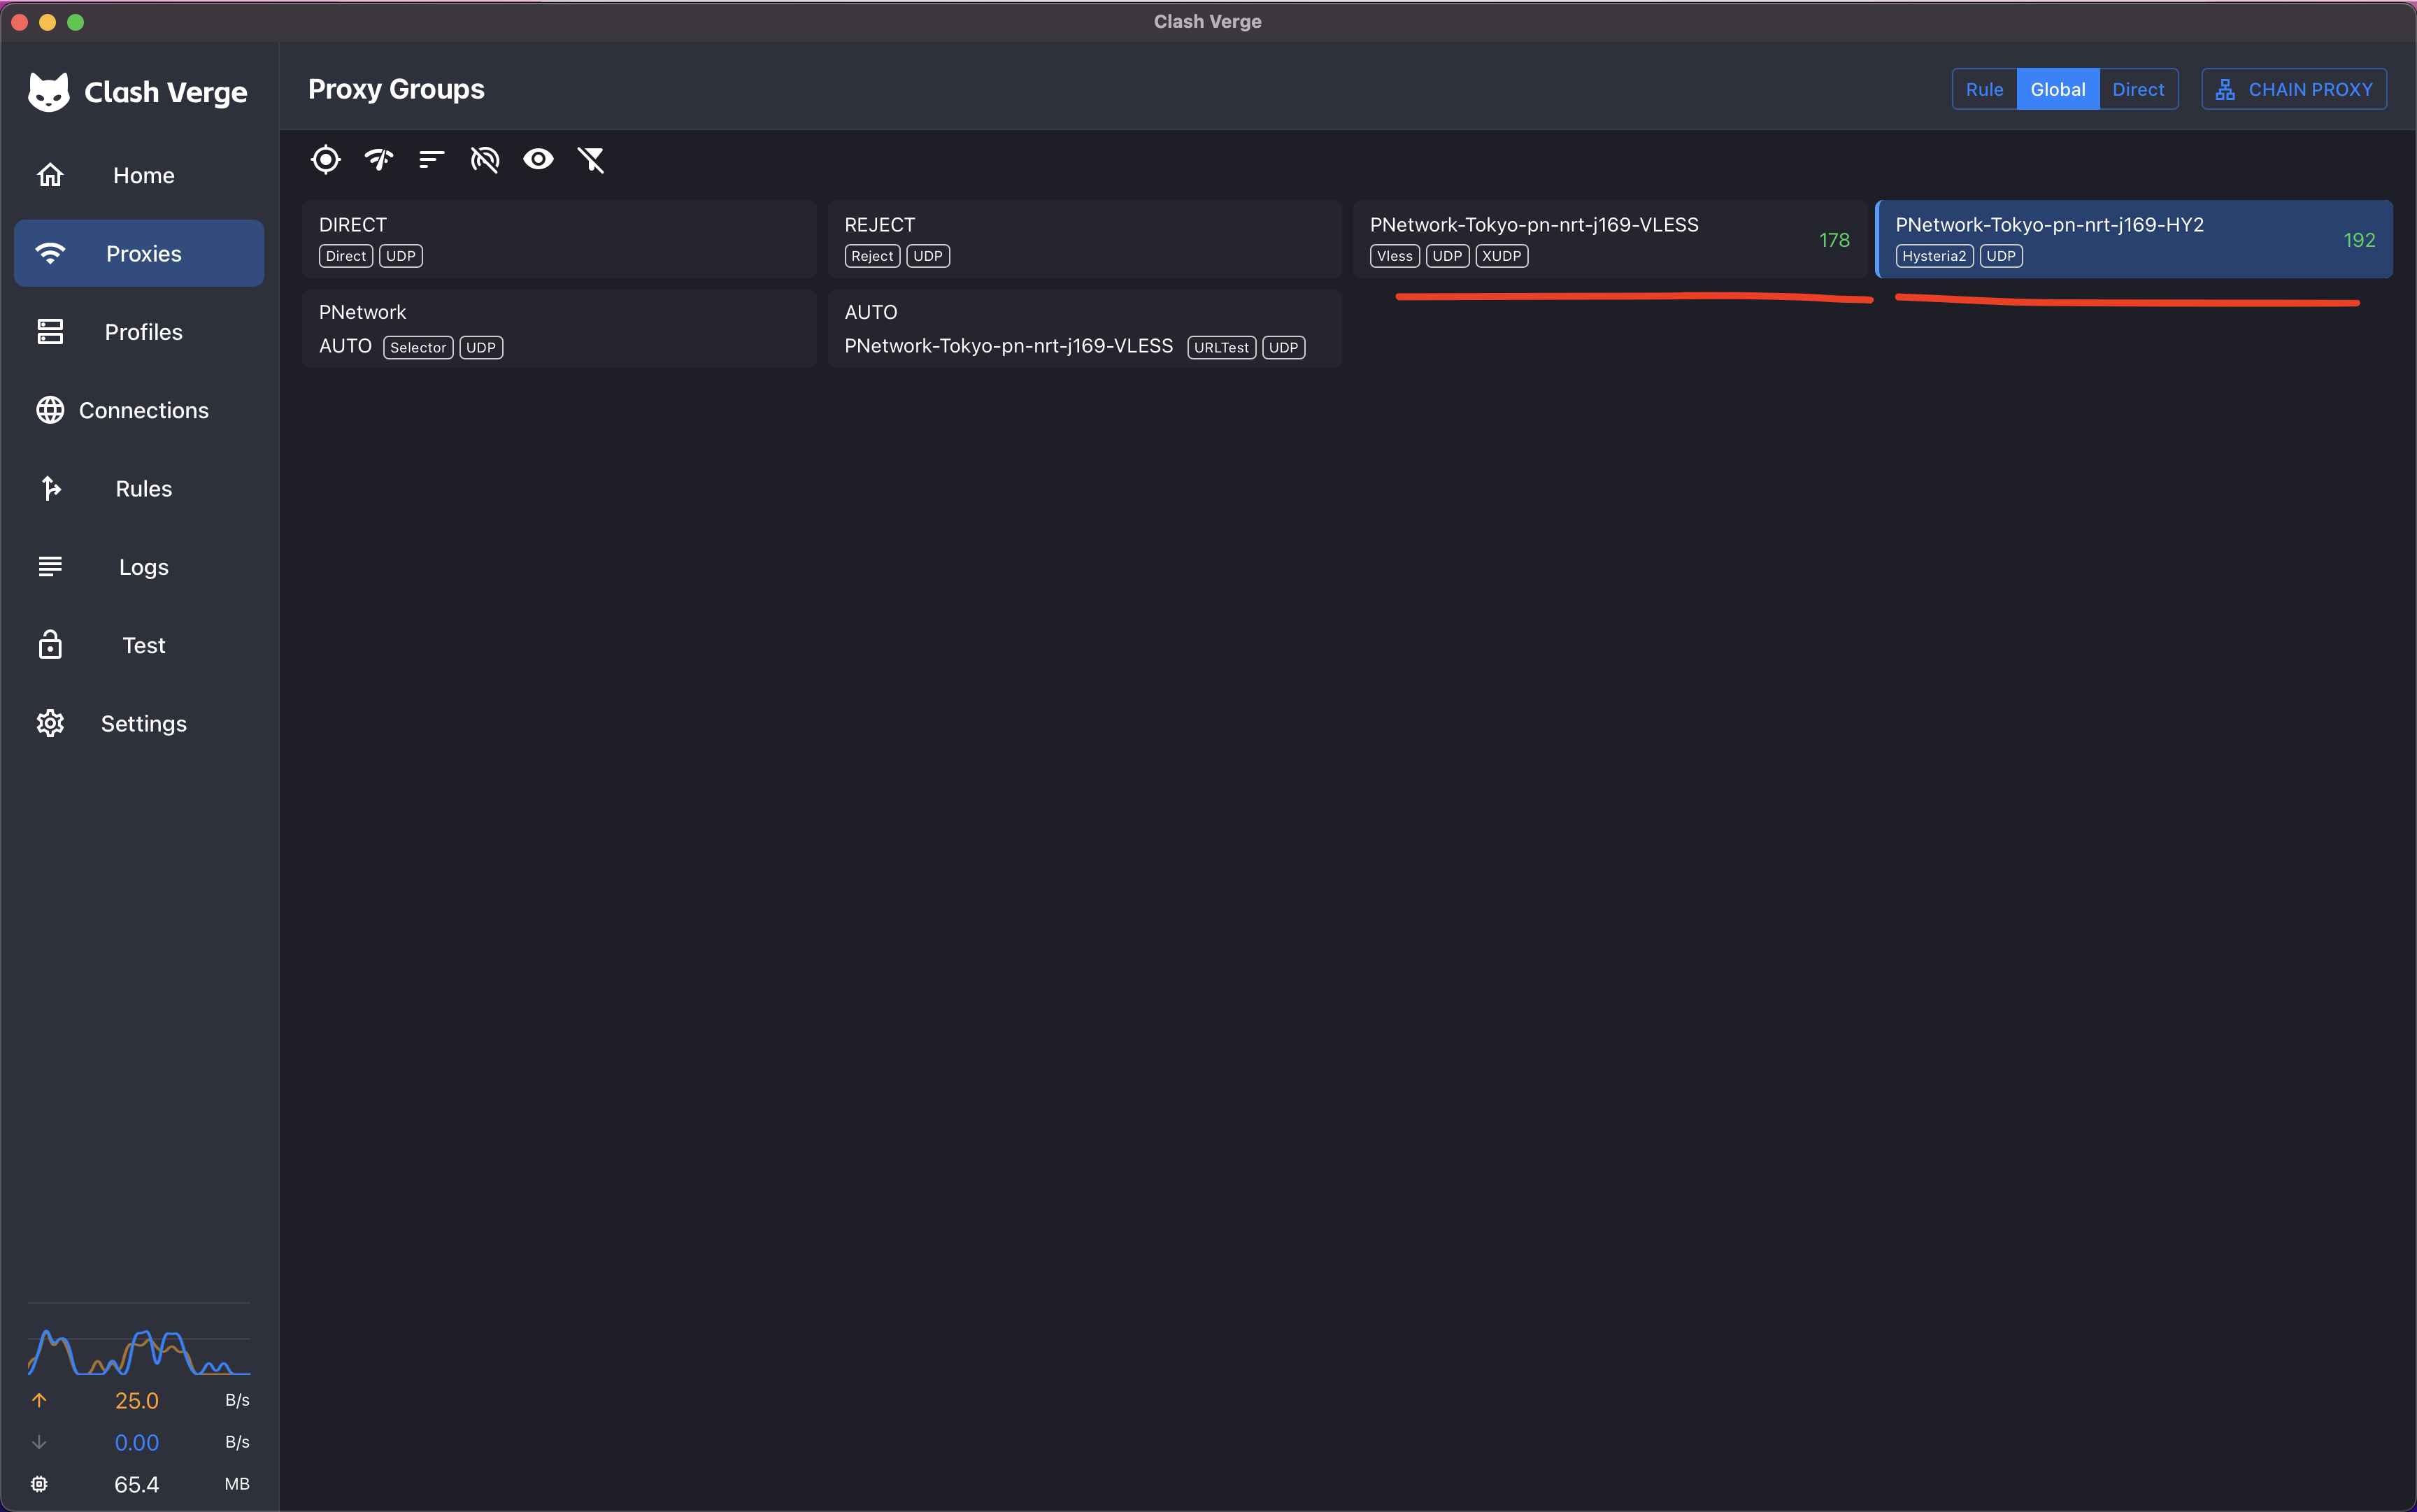
Open Proxies and pick one of your node’s two connection entries — VLESS or HY2. Same node, different route: if one feels slow or unreliable on your network, switch to the other.
6Verify
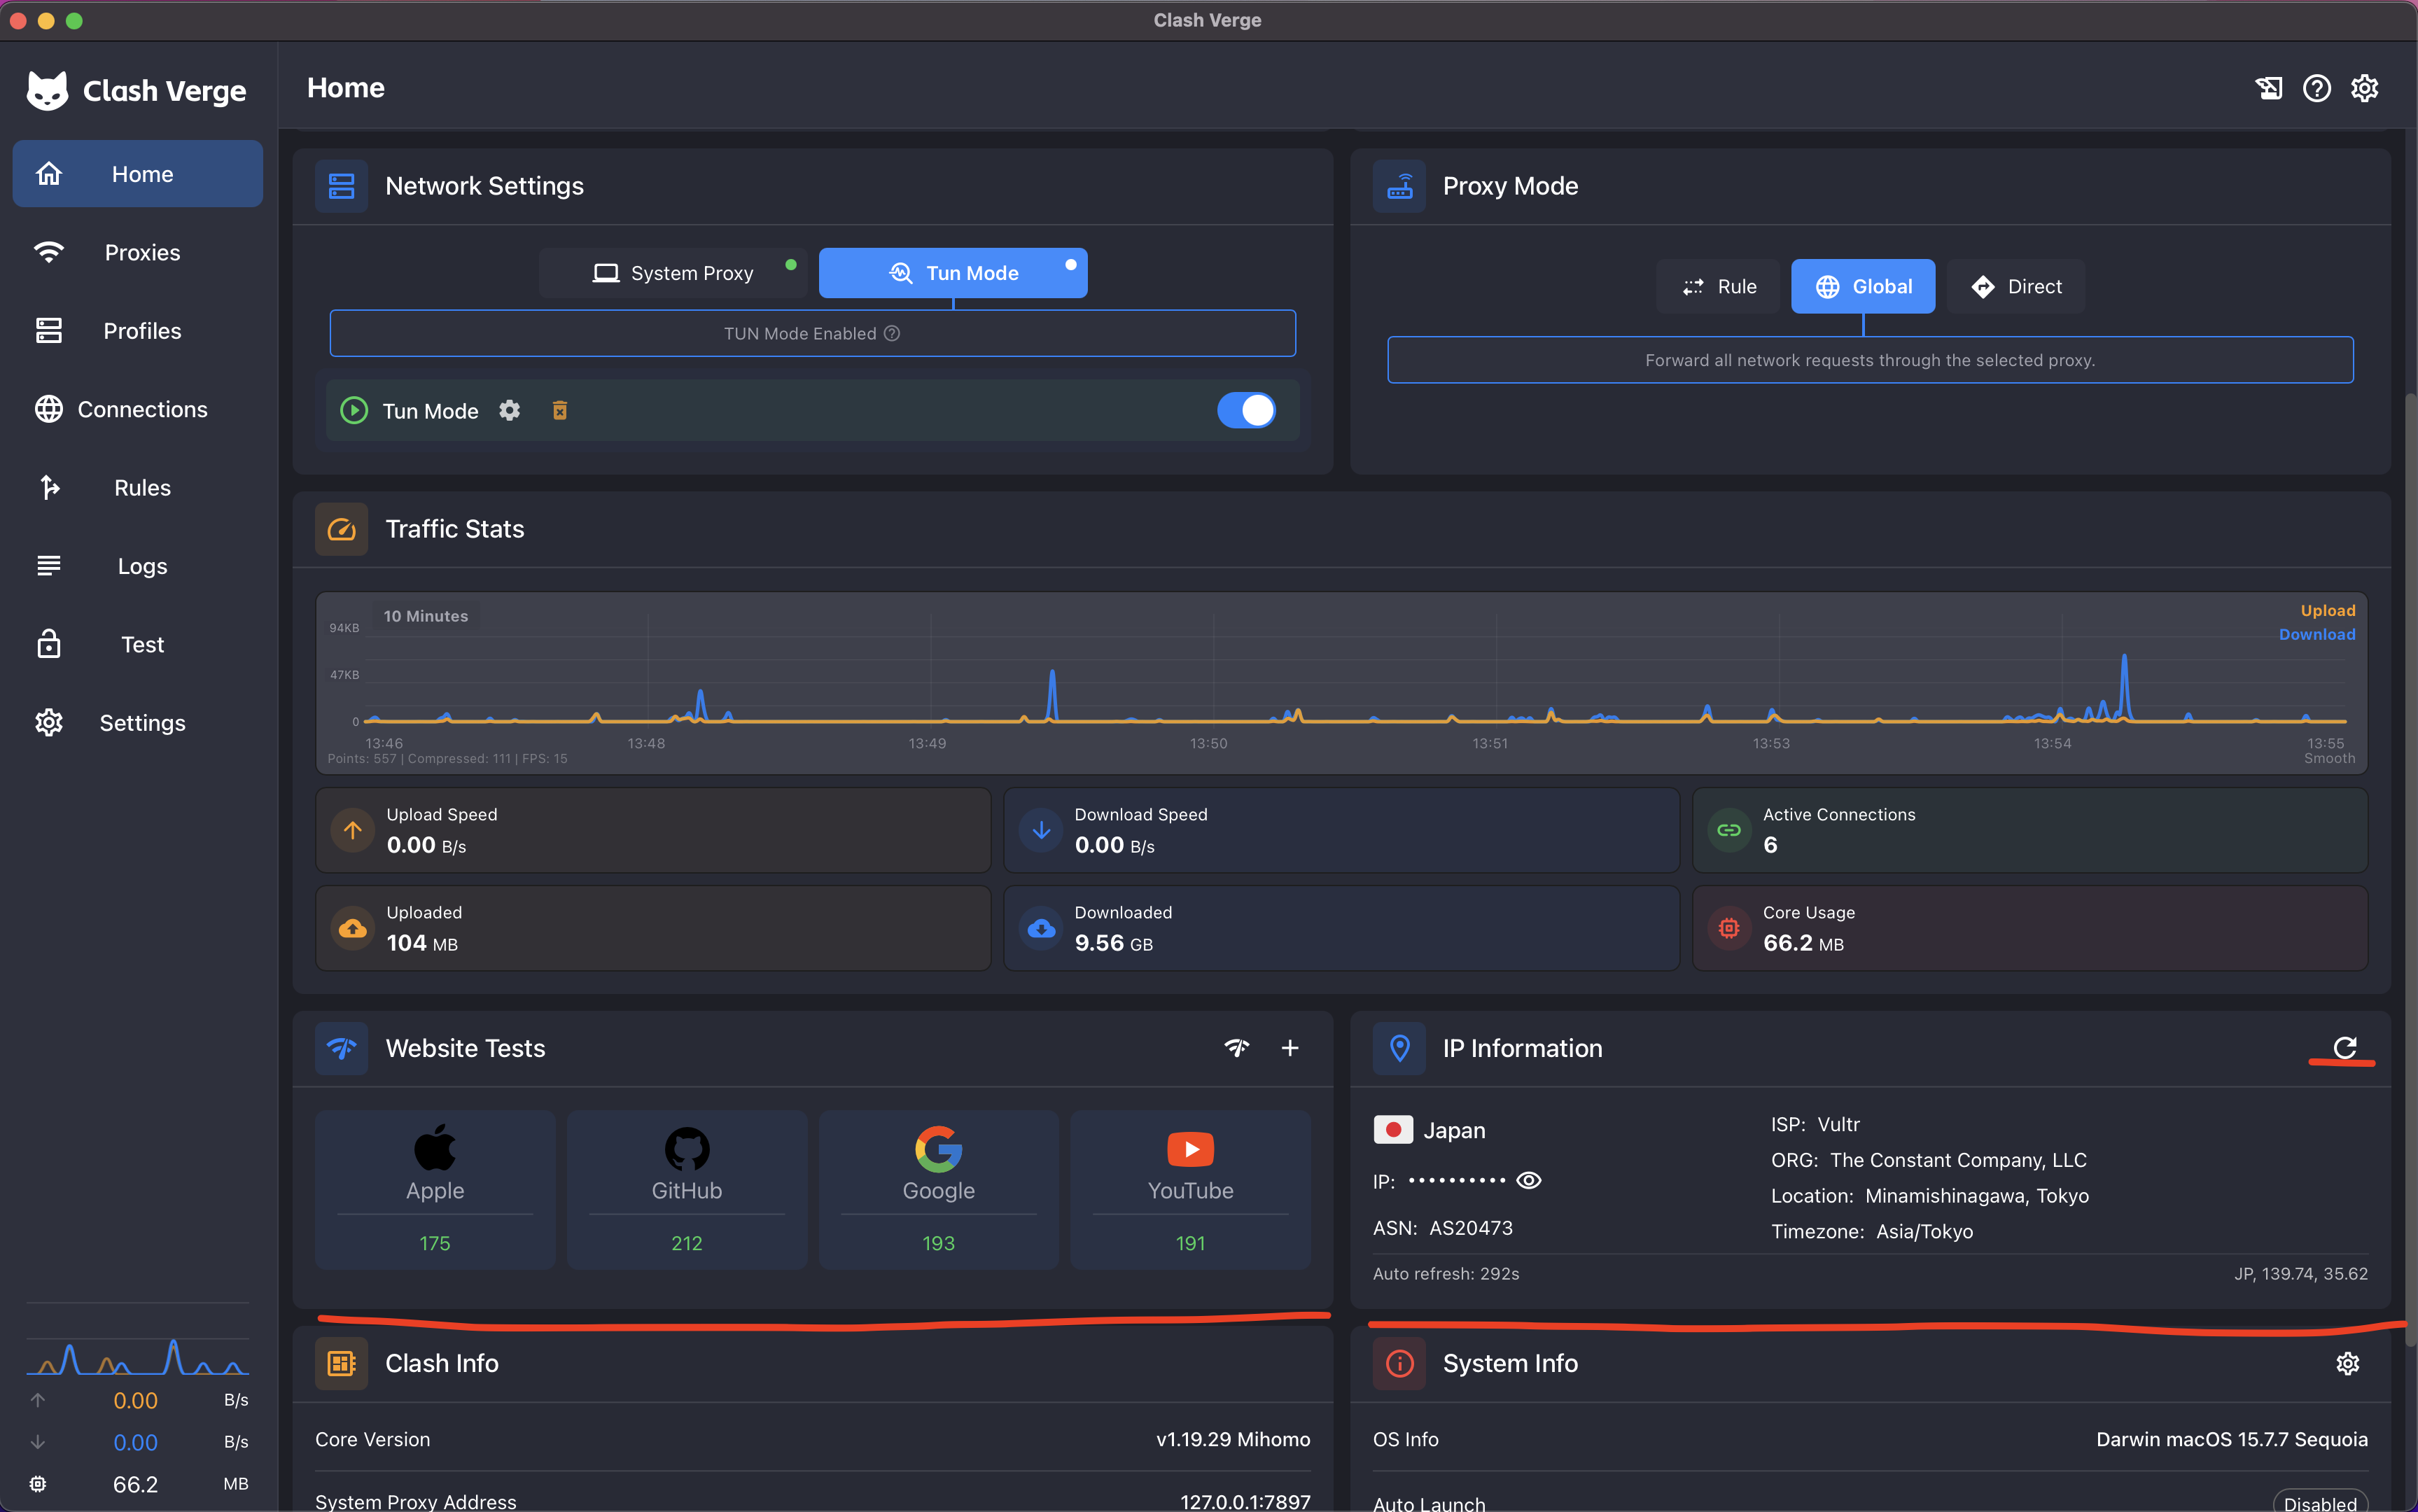
On Home, the Website Tests tiles should turn green, and IP Informationshould show your node’s region and provider instead of your own.
Trouble connecting? See the shared troubleshooting checklist or email [email protected].